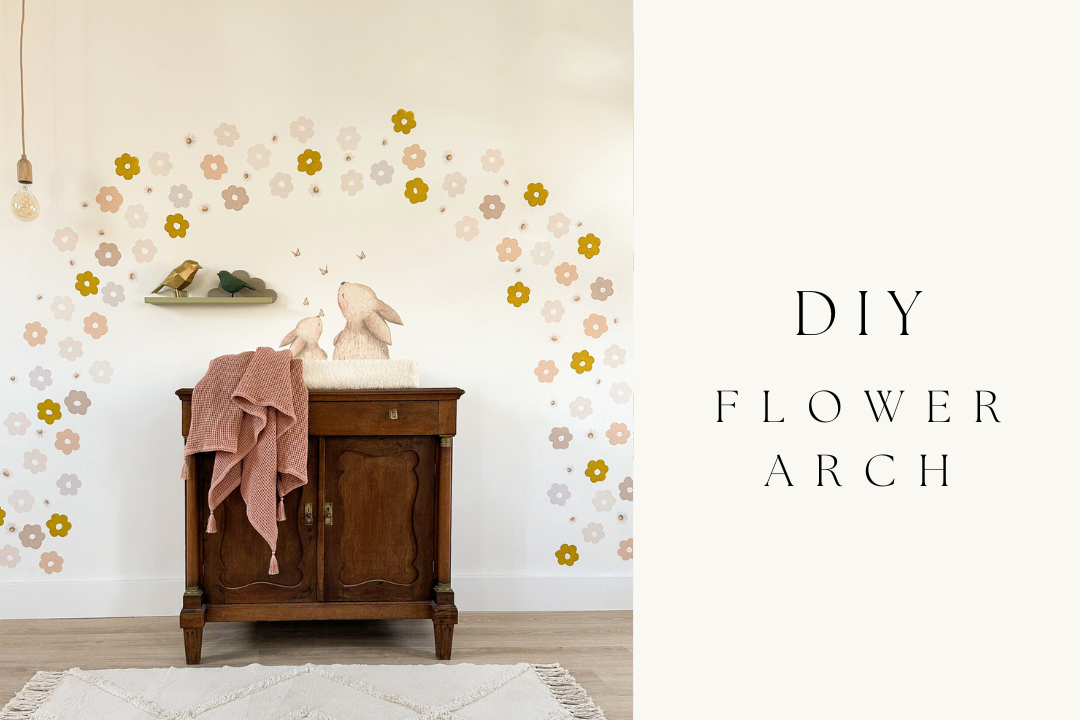
DIY flowers rainbow!
A floral rainbow-what do you need:
- Flowers sponges (these were of the hema)
- Tassels (for updating and dots in the flowers)
- Tester jars of paint (100 ml) or leftovers of paint for the different colors
- Bunnies with daisies value pack and butterflies | extra sheet of daisies
Step 1:
Make an outline of the arch on the wall-that's how you know roughly where the flowers should be.

Step 2
Take a sponge and dip it in the paint. Press the sponge on the wall, move a little back and forth so that the paint comes off the sponge well. Practice this on a piece of cardboard so that you know how to get the best result.
The drier the sponge the better the result! Tip is to take a sponge for each color - you can rinse them well so you can reuse the sponges.

Step 3
Touch up the flowers. This is best done with a paintbrush or small brush.

Step 4
Add more colors and touch up the flowers. Repeat until you have the arch!
Tip: Look from a distance every now and then to see if you still like the shape of the arch and if the colours look nice together. I myself painted over a colour because I didn't think it matched well.

Step 5
Make the white dots in the flowers and add the daisies between the flowers for a nice full effect.

Finally add the bunnies and you're all set!

Wall stickers in the photo: value set bunnies with daisies and butterflies | extra sheet daisies